Oahu is an incredibly beautiful island – completely conquerable in a car, and with lots of amazing and free/inexpensive (!!) activities. This is by no means a comprehensive list of things to do/tips, but a few things we learned along the way…
Rental vs. Hotel
If you are like us, and prefer the freedom of cooking your own meals, having more space and not being in the hustle and bustle of a city, rent an apartment or house! The hotels were beautiful, and many offer amenities such as pools, numerous restaurants and resort activities so it really is up to you. We rented an apartment on the eastern part of the island and it was the perfect location to get into the city when we needed, but away from the crowds and noise.
We rented through AirBnb and had an absolutely fantastic experience. Here’s where we stayed.
Food
A rental also allowed us to save a ton of money on food. Groceries are definitely more expensive on the island than main land (for a weeks worth it was about $150), but most meals will run you $50 or more per person at a restaurant. We ate breakfast at home almost every day, packed lunches for hikes and even did a few dinners.
Shrimp trucks, Hawaiian food fast food joints and poke bowls are plentiful, delicious and much, much cheaper than most restaurants. Helena’s for Hawaiian food knocked our socks off, and poke was so readily available, you could essentially get it anywhere. We could usually both eat for around $25 vs. $100.
We tried the famous Alan Wong’s – and it was good – but nothing earth shattering. I would recommend Sushi Sasabune instead – the experience alone was really cool, and if you like sushi, this place is VERY good. This was our one big splurge dinner.
Driving
Driving was by no means stressful, and the locals here are incredibly nice about letting you make that left hand turn, cutting into their lane when you realize the exit is a hundred feet away and generally just patient. We rented a car through Thrifty at the Honolulu airport for the week for about $250. Gas wasn’t too astronomical (it was a little under $3 a gallon), and getting around the island is much easier with your own transportation. We drove to the North shore, up along the coast, through the mountains, through eastern Oahu, Waikiki and Pearl Harbor. A GPS is an absolute must because the highways run out and then you are often confronted with having to chose your next move rather quickly. Listen to your GPS and ignore the signs, because many of those are not correct! However, if you do make a wrong turn, Oahu is not massive and you’ll easily be able to get back on track. It happened a few times to us. There are no tolls on the highway too (bonus!).
Which brings me to my next point… parking! We generally found parking wherever we went with the exception of Waikiki. So here are my suggestions for that – if you are going to a museum or a restaurant, ask them about parking. If they don’t offer it, or have limited spaces, ask where the closest garage is. Street parking is liquid gold. It only happened once to us – and you will need quarters! Be prepared to spend a pretty penny on parking lots and garages. Some restaurants, like the Mai Tai Bar, will validate your parking for up to four hours, if you use a specific garage. You’ll get a feel for it and where the best places are to park. We made a lot of reservations on King Street for dinners (coincidentally) and street parking is free and pretty available after 6 pm.
Traffic in Honolulu is insane during rush hour, but pretty easy to navigate at all other times of the day. Just keep in mind when you’re planning activities.
Free/Inexpensive Activities
The hiking! The beaches! They are all free or cheap and in my personal opinion, a thousand times better than time spent at a pool or shopping in Waikiki. We didn’t get to tackle every hike in our book, but here’s what we were able to conquer, with associated entrance or parking fees:
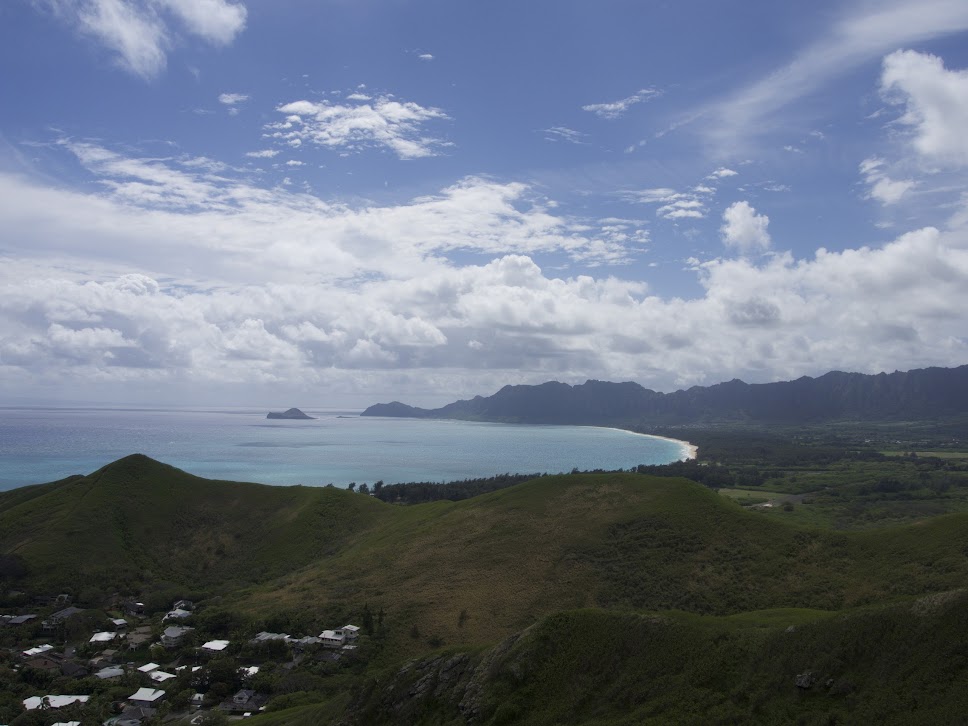
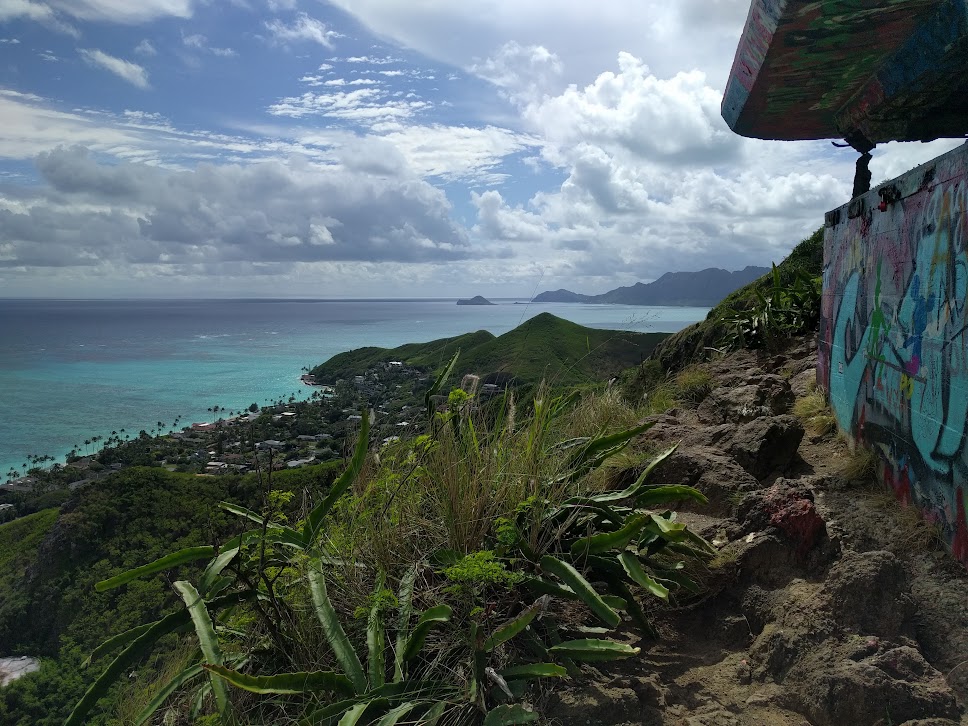
- Pillbox Hike: Free! Parking is in a residential neighborhood (read up on it before you go). The trail definitely has an incline, and you can spend as much or as little time as you want on the trails. It did rain a bit when we went, and as a warning, the trails can get slippery.
- Waimea Falls: $16/person entry fee. The falls are located in a botanical garden and this was the most expensive “hike” we did. I would categorize this as more of a walk. The gardens and falls are beautiful, but don’t expect to do this alone. We did the Pillbox and falls on the same day since the latter does not require significant energy.
- Moana Falls Hike: $5 parking fee. There are a lot of signs that make it seem like there is no parking, but this is a lie. Just go all the way up until you pass a snack shack and there is a parking attendant at the end of the road.
- ‘Aiea Loop Trail: Free! There are multiple lots to park at for this hike. The hike starts at the last parking lot, but my tip is to park in the first one (near the first bathroom “shed”) and walk up the hill in the beginning. This hike takes about 2 – 3 hours to complete and I can tell you from experience that walking up hill to the parking lot at the end was not fun.
- Diamond Head: $5 parking fee (if you walk in, they charge $1/person). Go early in the morning when the crowds are slightly less insane and it isn’t as hot. The hike is not difficult, though there are a few areas with incredibly steep stairs that will definitely get your heart racing!
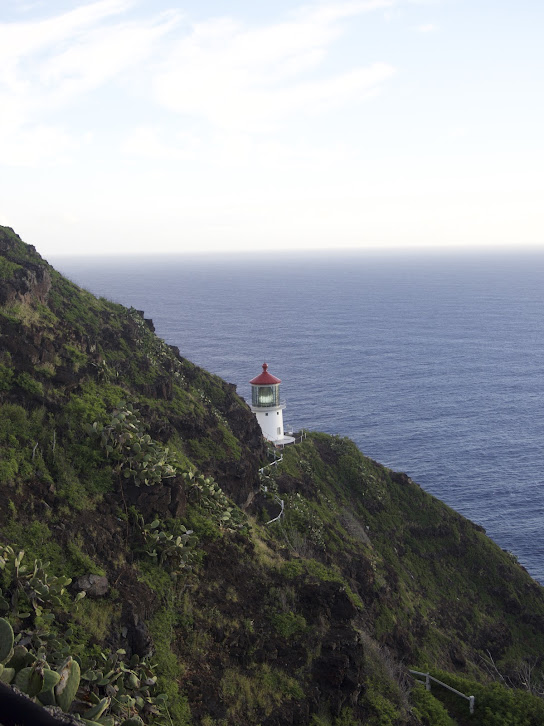
- Makapuʻu Point Lighthouse Trail: Free! The parking lot opens at 7 am, though some people park on the side of the road if they go before the park opens (note there is a lot of broken glass from break-ins, so I’d recommend against that).
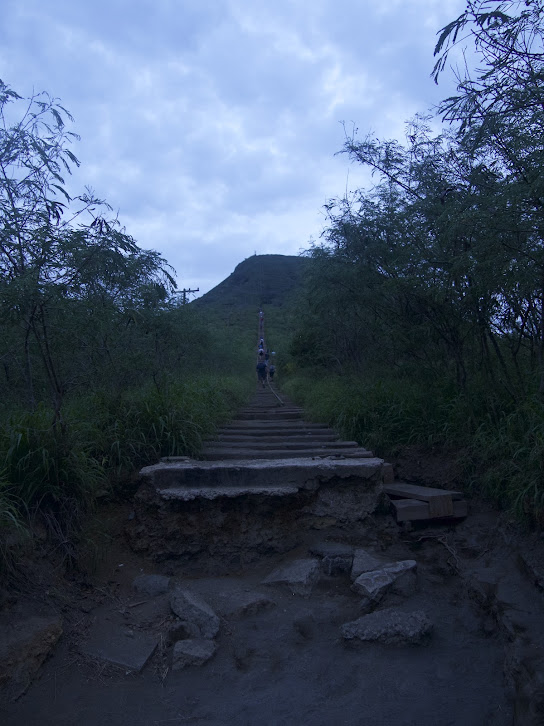
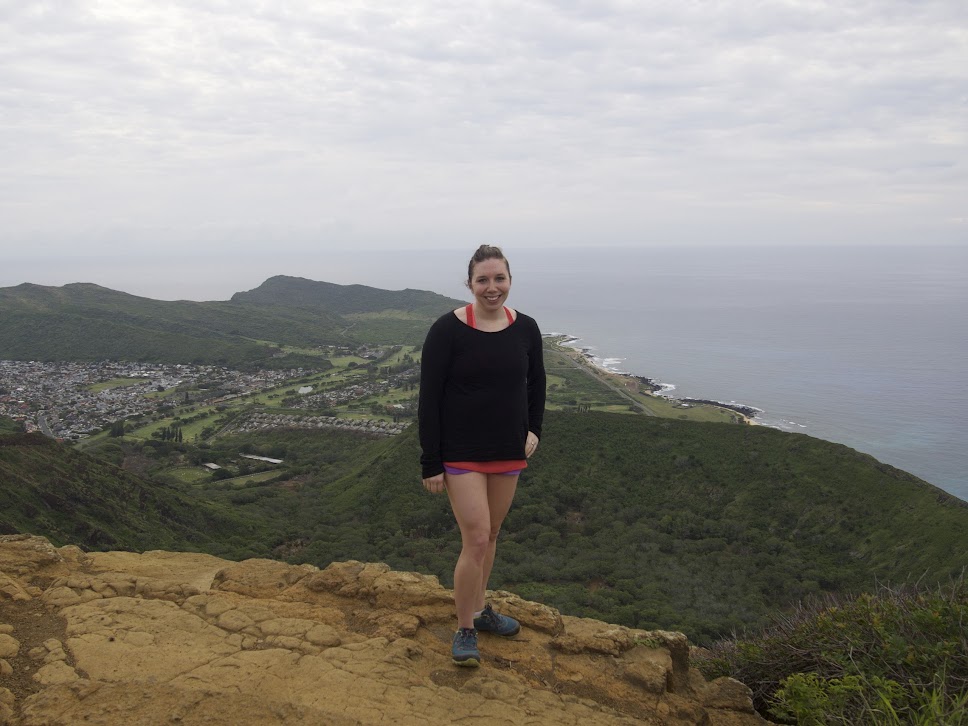
- Koko Head: Free! This is a HARD hike. I am not going to sugar coat it. It was also probably my favorite hike. Go in the early morning to see the sunrise or end of the day at sunset. This is necessary from just a heat stand point. You will climb old tram tracks straight up this mountain. There is a parking lot, though we walked here from our AirBnb because it was so close by.
All beaches on Hawaii are public – so even if they are part of a resort, or seem to be part of someone’s backyard, you can go on them. There are some signs that try and prohibit you from trespassing, but you aren’t. Because it was slightly overcast most days we were in Hawaii, we didn’t spend too much time at the beach. But here are the few we did go to:
- Kailua Beach: Parking is free, and there are numerous lots. There are facilities with bathrooms and showers. The sand here is SUPER soft, which James loved, but got into literally everything! The current is a bit stronger here so not great for swimming, but would be fun to boogie board at.
- Hanauma Bay: $7.50/person + $1 parking fee. Make sure you get here early (before 9 am) to secure a parking spot. You will have to watch a brief video on preserving the bay before you are able to go down. Here you can snorkel or swim. I chose to swim because the water was actually calm enough, and had the benefit of still checking out the beautiful ocean life below. Snorkel equipment can be rented onsite – though our AirBnb provided everything we needed.
- Fort DeRussy Beach: Free! I checked out this beach before James’ surf lesson. It wasn’t crowded at 9 am, though there is a ton of coral here. I brought a pair of goggles and did some swimming, though I can’t say it was very easy. Great views of Diamond Head, and a lot of little shops on the beach that can provide you with chairs and umbrellas if you’re spending the day.
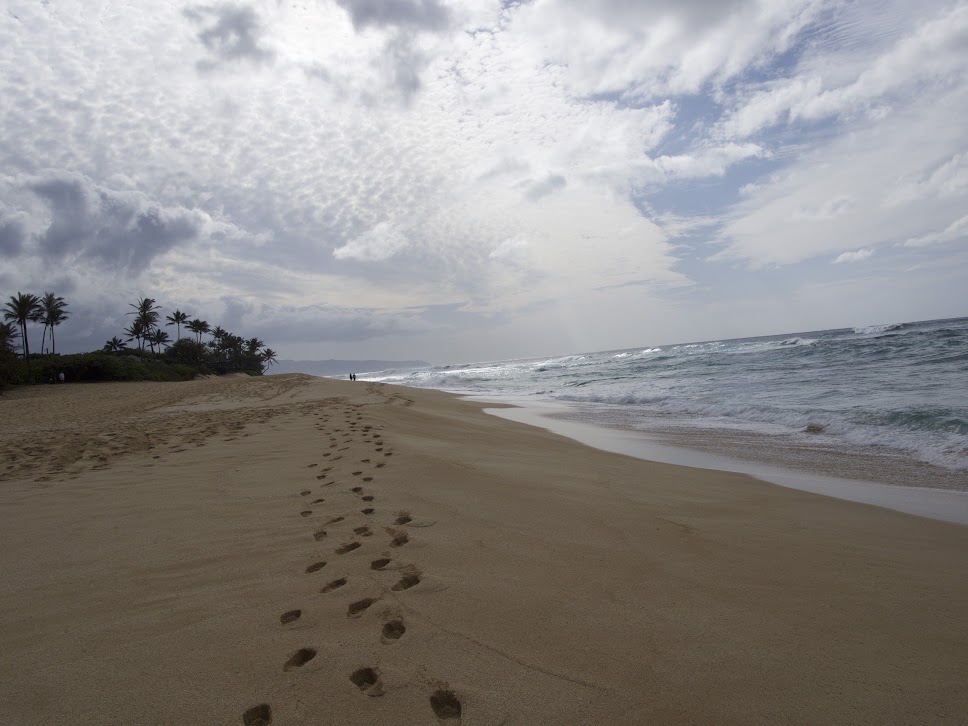
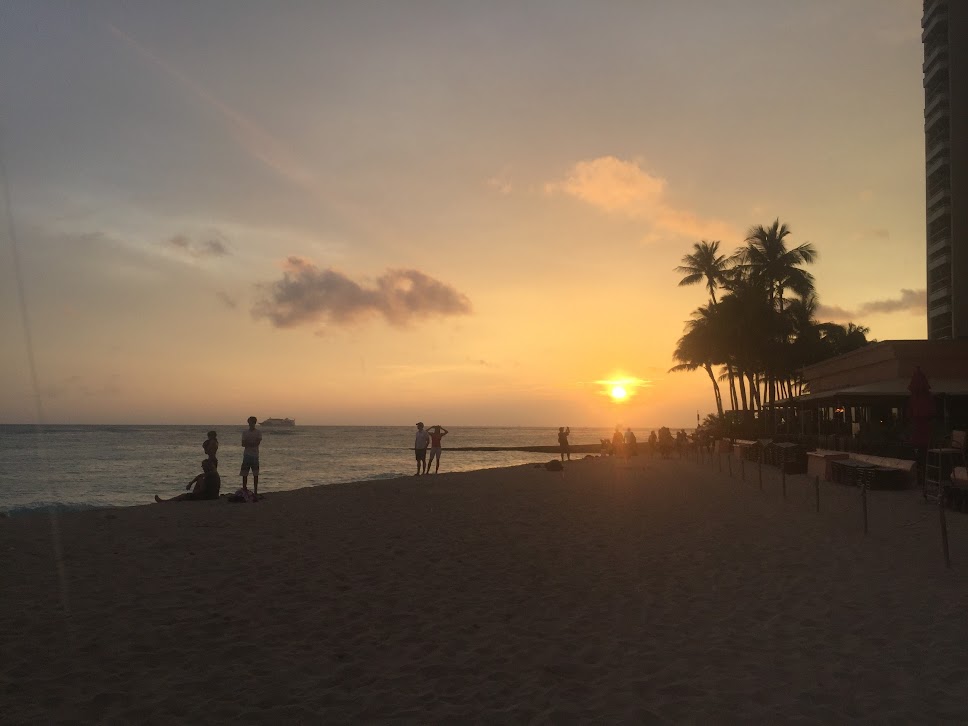
- We also walked along beaches in the North Shore – great for watching surfers, not great to swim in (current is VERY strong here), as well a picnicked at Kualoa Point. A sunset was watched from Waikiki beach one evening at the Mai Tai Bar (which goes right up to the sand).
Other affordable activities? Drive up to Waialua (North Shore) and walk around the surf town. Grab a coffee at the Coffee Gallery, and hang out in their outdoor shaded patio area. Alternatively, you can go to Kailua, hit up Morning Brew, and walk around the town.
Visit Pearl Harbor – this is technically free, but I opted to pay $3 to reserve a space on one of the tours to the USS Arizona. Definitely worth it, as these tours tend to be “sold out” every day.
If you have a museum membership, see if they offer reciprocity memberships elsewhere. We were able to get free admission to the Bishop Museum in Honolulu.
The Shangri la tour comes with free admission to the Honolulu Art Museum, and Iolani palace was surprisingly affordable as far as palace admissions go.
Bring Cash!
If you have to pay for parking or admittance fees, make sure you bring cash, because almost all of these are cash only. We brought $100 in cash with us and spent about half.
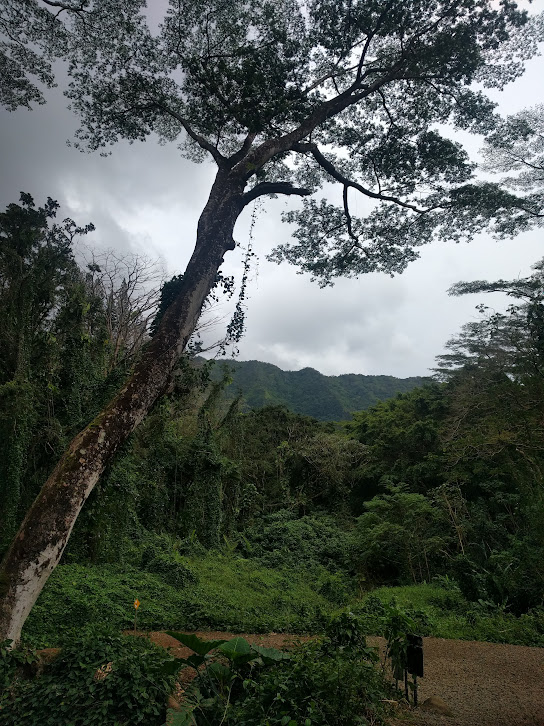
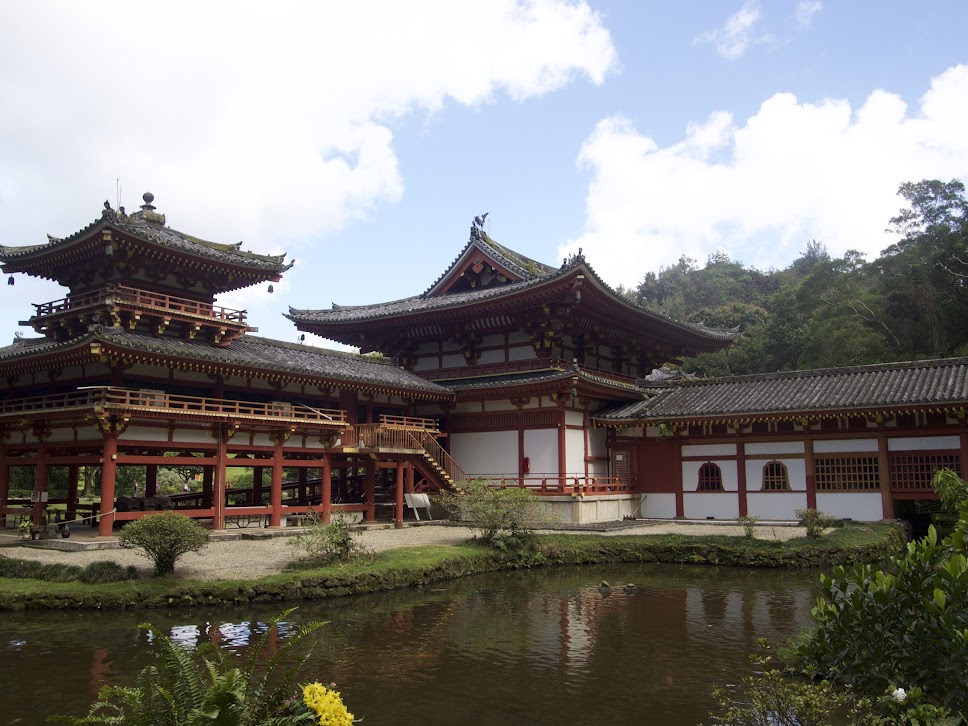
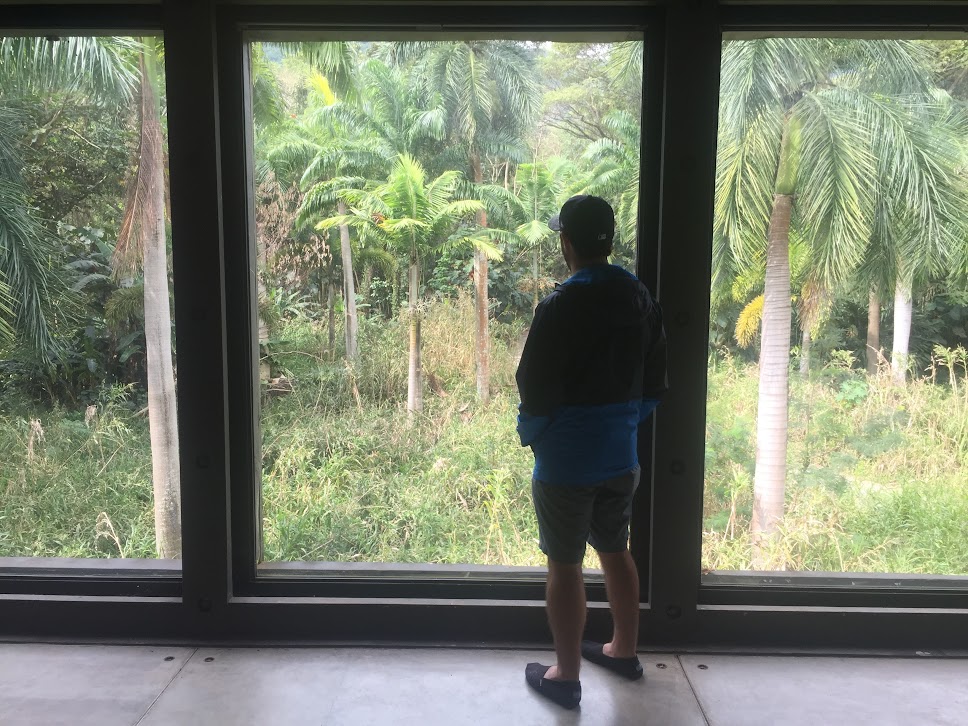
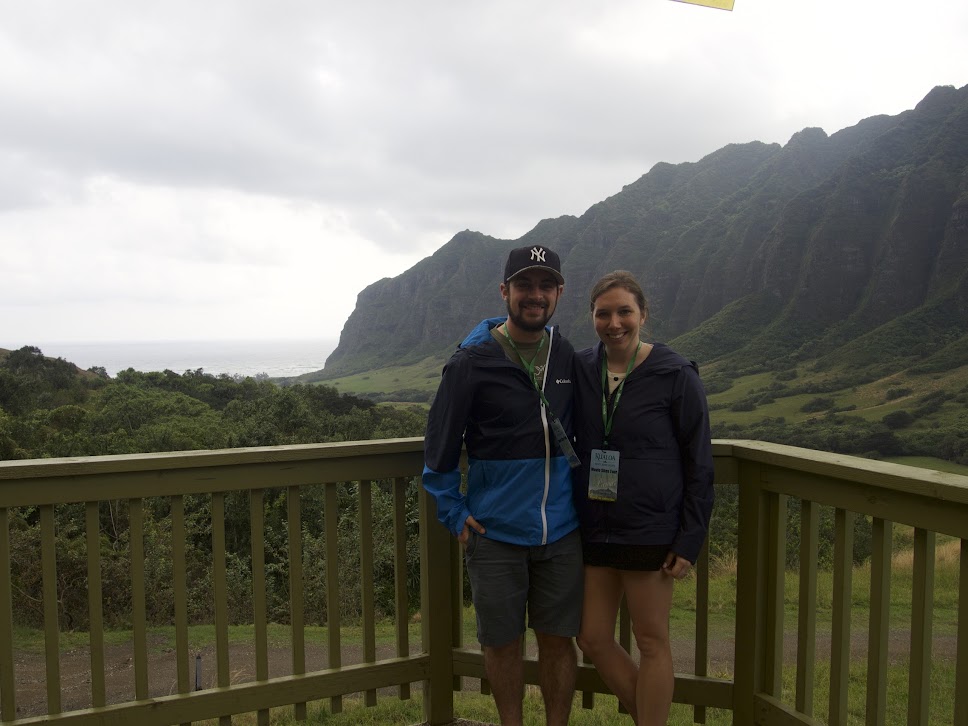
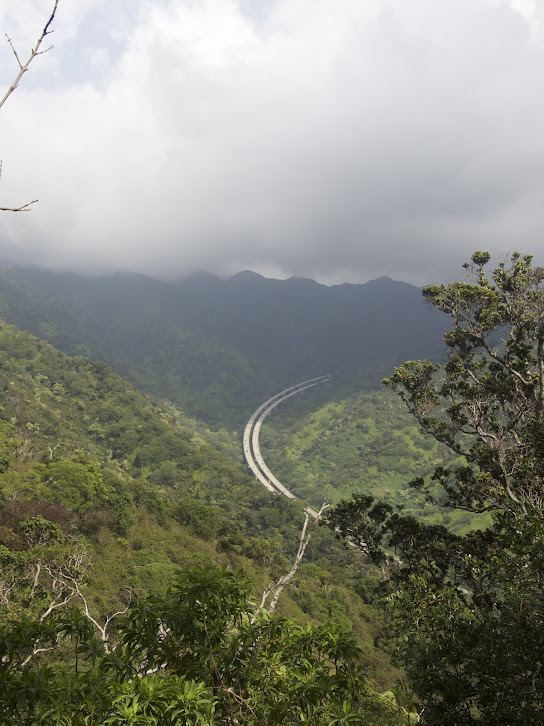
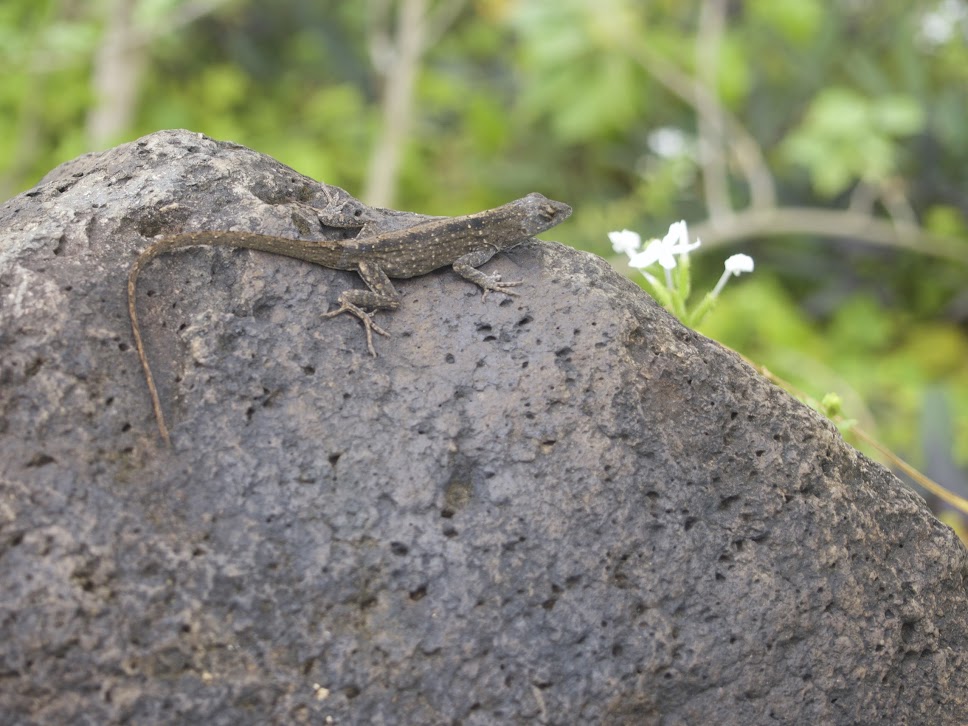
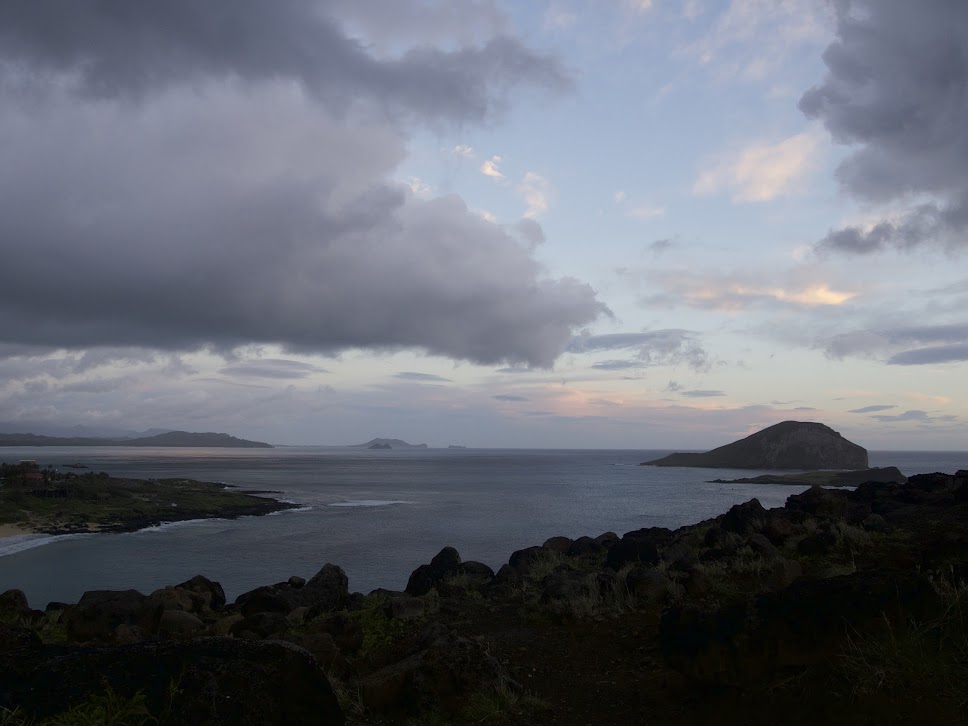
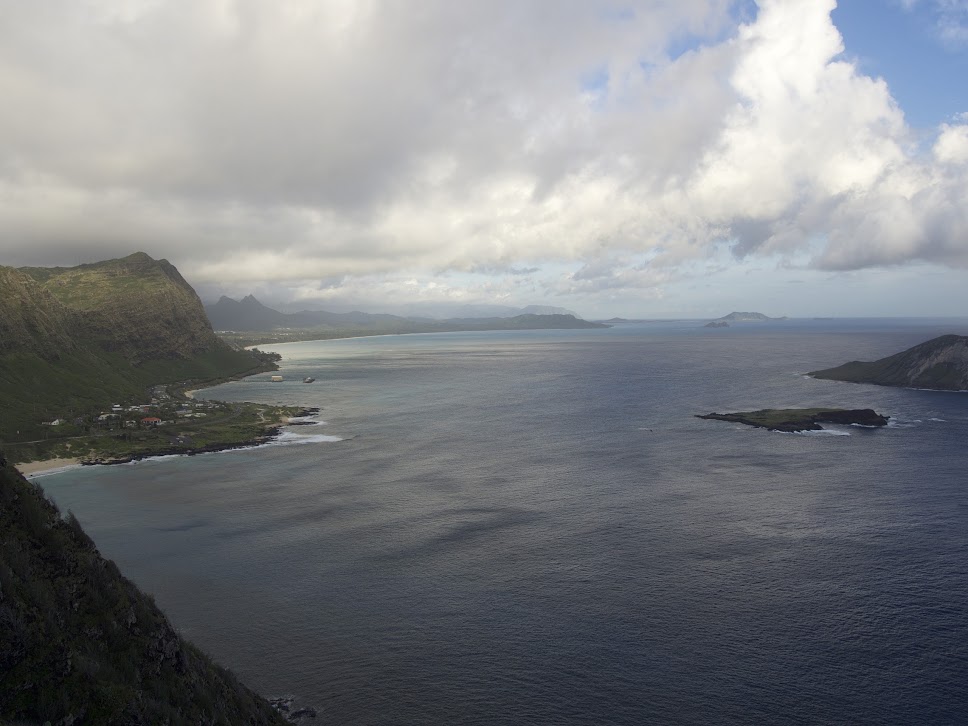
And some of my favorite photos…